The very first step should be to schedule a text to yourself. Try it!
Scheduling a text to yourself is a great way to familiarize yourself with how it works and how the texts will look to your recipients in the future. Since you signed up for the Free Trial, your name will already be in the system. Go to the Compose and Schedule Texts page from the menu. Your name should already be highlighted in #1. Write anything you want for a message to yourself in #2. Schedule the text for about 2 to 5 minutes in the future. Select Schedule Text. Wait for your text to arrive on your mobile phone. It’s that simple!
Next, build your database of important people and their mobile phone numbers.
Select ‘Enter Names’ from the menu. You will see a grid (or spreadsheet). At the bottom there is a space to write a name and a mobile number. After you write a name and a number in the spaces, select ‘Add’. You will see that the name and number has been added to your grid (database).
Edit information or delete information in your grid if needed.
Locate the small red pencil and trashcan at the bottom of the grid. To edit a name or number in your grid, select the row and it will turn red. Then select the red pencil. You can edit the information in the spaces that appear. After you have made the changes, select ‘Save and Close’.
When you are finished entering names and mobile numbers, select ‘Compose and Schedule Texts’ from the menu to begin writing and scheduling your text. Below is a screenshot of the Compose and Schedule Texts page.
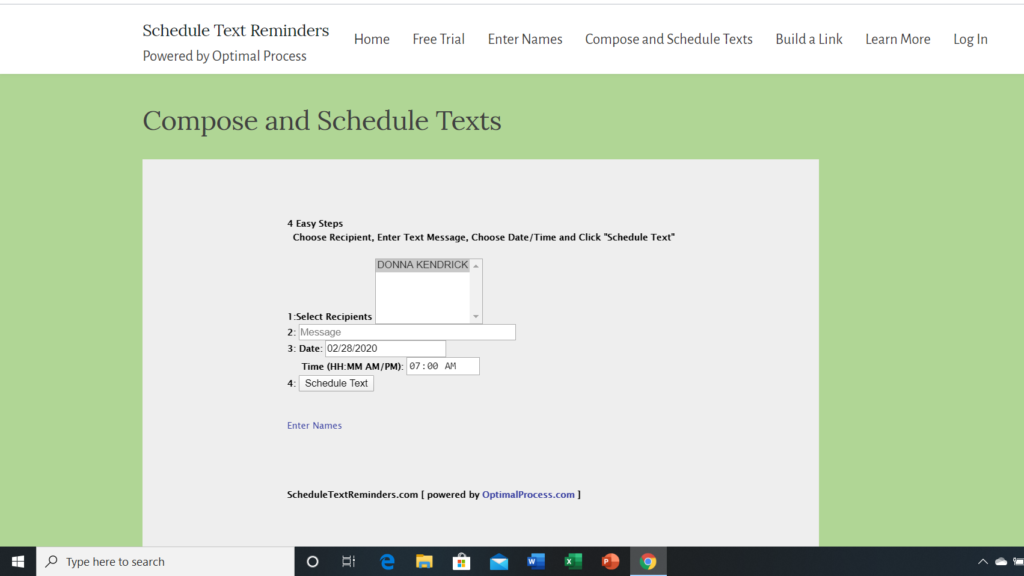
First, select the recipients of the text in #1.
Select an individual or create a subgroup or your entire database. (When using a laptop or PC, you will need to hold the control button down to select multiple people for a group.)
Next, create your text message in #2.
Simply write your text message in the space provided in #2. Your message should not exceed 110 characters.
Next, schedule delivery of the text message in #3.
Helpful tip: Remember, you are reminding people of something so give them plenty of time to rearrange their schedule so that they can get there! For instance, if it’s a business meeting at work, it would be good to schedule a text to send 10 or 15 minutes before the meeting. But if you are reminding a group of a party or fundraiser event, schedule a text to send the day before the event and maybe another text 3 or 4 hours before the event. Or for a scheduled appointment, remind the client or customer the day before the appointment and again an hour before the appointment. You’ve got lots of options!
Finally, select Schedule Text in #4.
Notice after you select ‘Schedule Text’, the scheduled text will appear at the bottom under #4. This is a chronological list of the texts you have scheduled. When the text is sent, it will disappear from the list. You can also cancel a text from the list by selecting ‘cancel’.
To watch a short instructional video, click this link:
https://www.scheduletextreminders.com/instructional-1-minute-video/